How to Increase the Maximum Media File Upload Size in WordPress
Understanding Maximum Upload Size in WordPress
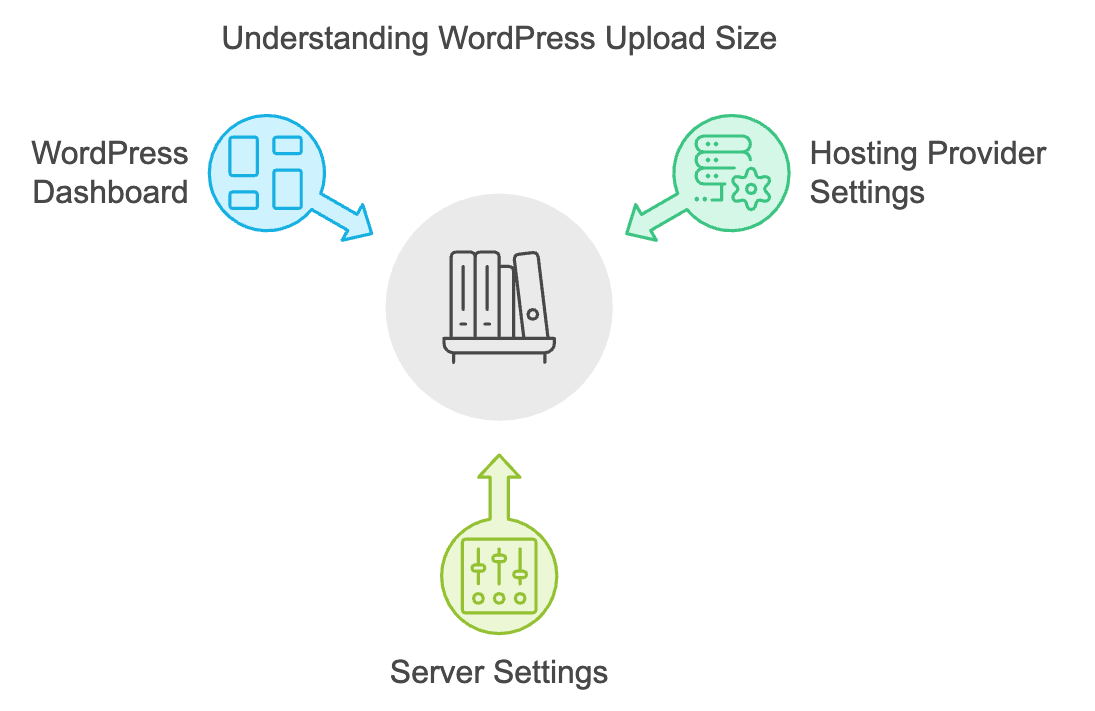
The maximum upload size in WordPress determines the largest file you can upload to your website. This limit is set by your hosting provider and can vary based on your server settings. Knowing this limit is crucial for managing media files effectively, especially if you’re running a content-heavy site.

How to Check Your Current Maximum Upload Size
To determine your current upload limit, navigate to the Media Library in your WordPress dashboard. You can also check the Site Health Info under the Tools menu, which provides detailed information about your site, including the maximum upload size.
Why Increase the Maximum Upload File Size?
Increasing the upload size is important for several reasons. Larger files, such as high-resolution images or videos, can enhance the quality of your content. However, many users encounter limitations when trying to upload larger media files. Adjusting this limit can improve your site’s functionality and user experience.
7 Effective Methods to Increase Upload Size
1. Contact Your Hosting Provider
One of the simplest ways to increase your upload size is to contact your hosting provider. They can often adjust the settings for you, depending on your hosting plan.
2. Create or Edit the php.ini File
If you have access to your server’s root directory, you can create or edit the php.ini file. Add the following lines to set your desired upload limits:
upload_max_filesize = 64M
post_max_size = 64M
3. Update the .htaccess File
For Apache servers, updating the .htaccess file can be effective. Add these lines to increase the upload size:
php_value upload_max_filesize 64M
php_value post_max_size 64M
4. Modify the wp-config.php File
While it’s not always recommended, you can sometimes increase the upload size by adding the following line to your wp-config.php file:
define('WP_MEMORY_LIMIT', '64M');
5. Use a WordPress Plugin
Several plugins are designed to help you increase the maximum upload file size. Plugins like “Increase Max Upload Filesize” can simplify the process without requiring code changes.
6. Change PHP Options via cPanel
If your hosting provider uses cPanel, you can adjust PHP settings directly. Look for the “Select PHP Version” or “PHP Options” section and modify the upload limits accordingly.
7. Upload Files via FTP/SFTP
For larger files, consider using FTP/SFTP to upload them directly to your server. This bypasses the upload limit entirely and can be a practical solution for large media files.
Summary
Increasing the maximum upload size in WordPress is essential for managing media effectively. By following the methods outlined above, you can easily adjust the settings to suit your needs, ensuring a smoother experience for you and your visitors.
Our Services
At Versatel Networks, we specialize in creating user-friendly websites that serve as the primary interface between businesses and their customers. Our selling services are designed to enhance engagement and drive conversions. Whether you need a custom website, e-commerce solutions, or ongoing support, our team is here to help you succeed online.