How to Put Your WordPress Site in Maintenance Mode
When managing a WordPress site, there are times when you need to make updates or changes that require temporarily taking your site offline. Enabling maintenance mode is essential for ensuring a seamless experience for your visitors during these periods. This article will guide you through the process of putting your WordPress site in maintenance mode, including when and why it’s necessary, as well as various methods to achieve it.

Understanding Maintenance Mode: When and Why
When to Put WordPress into Maintenance Mode
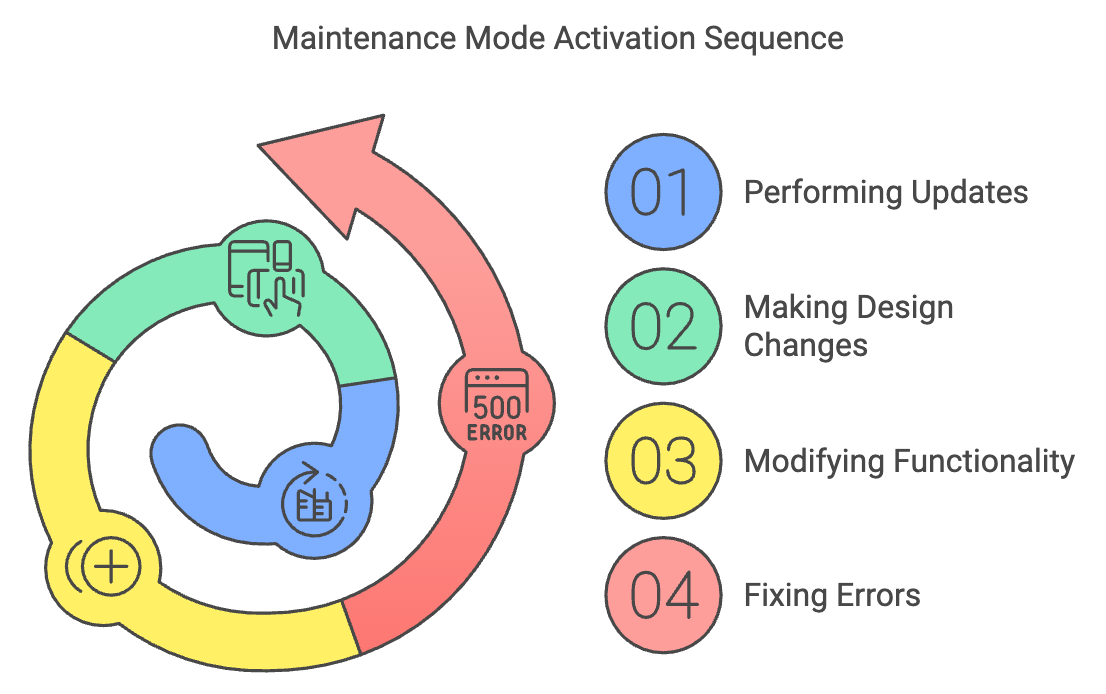
- Performing Updates: Whether you’re updating plugins, themes, or the WordPress core, maintenance mode prevents users from encountering issues during the update process.
- Making Design or Layout Changes: If you’re redesigning your site, maintenance mode ensures that users don’t see unfinished work.
- Adding or Modifying Functionality: New features can often take time to implement. Maintenance mode keeps your site intact while you make these changes.
- Fixing Errors or Bugs: If you need to troubleshoot issues, maintenance mode can help prevent users from experiencing errors.
Why Use Maintenance Mode?
- Seamless User Experience: By informing visitors that your site is temporarily unavailable, you maintain professionalism.
- Preventing Errors and Issues: It reduces the chances of users encountering broken elements on your site.
- Communication and Transparency: A maintenance message communicates that you are actively working on improving the site.
- SEO Considerations: Proper use of maintenance mode can help protect your site’s SEO rankings by signaling to search engines that your site is temporarily down for maintenance.
How to Enable Maintenance Mode in WordPress
There are multiple ways to put your WordPress site into maintenance mode. Here are some of the most effective methods:
Method 1: Using the SeedProd Plugin (Recommended)
SeedProd is a user-friendly plugin that allows you to easily set up maintenance mode. After installation, you can customize the appearance of your maintenance page and control who can access your site.
Method 2: Using LightStart
LightStart is another simple option for enabling maintenance mode. It allows for a quick setup and provides customization options to suit your brand.
Method 3: Using the WPCode Plugin
WPCode offers a straightforward way to enable maintenance mode without needing extensive technical knowledge. Simply follow the plugin’s prompts to set it up.
Controlling Website Access
Allowing Logged-in Users Access
Most plugins offer settings that allow logged-in users to bypass maintenance mode. This is useful for administrators who need to continue making adjustments.
Excluding Specific Pages
Some plugins also allow you to exclude certain pages from maintenance mode, letting you keep parts of your site active while others are under construction.
Adding a Chatbot to Your Maintenance Mode Page
Consider integrating a chatbot on your maintenance page to assist users with questions or concerns while they await the site’s return.
Disabling Maintenance Mode
Once your updates are complete, it’s essential to disable maintenance mode so your visitors can access your site again. Most plugins provide a simple toggle switch for this purpose.
Troubleshooting Maintenance Mode Issues
If your site remains stuck in maintenance mode:
- Clear Browser Cache: Sometimes, old cached pages can display the maintenance message.
- Delete the .Maintenance File: If issues persist, manually removing the .Maintenance file from your WordPress root directory can resolve the problem.
Our Services
At Versatel Networks, we specialize in providing exceptional website development and maintenance services. Our team is dedicated to creating user-friendly WordPress websites that enhance customer engagement and drive conversions. Whether you need a new site, updates, or ongoing support, we’re here to help. Let us take your online presence to the next level with our tailored solutions.